
Bird Classification - Run AI Models with Java and ONNX Runtime

When talking about AI applications, people usually refer to GenAI applications and usage of large language models (LLMs). Actually, there are many other interesting use cases of AI models, like image classification, text classification, object detection, and more.
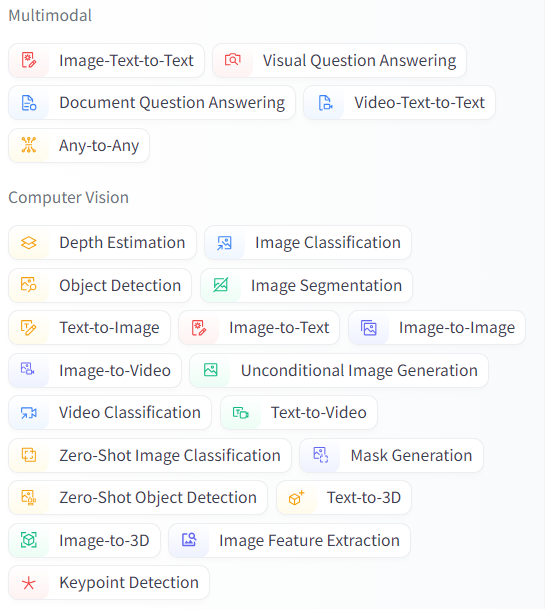
It’s also very easy to run various AI tasks, thanks to popular platforms like Hugging Face, and libraries for different programming languages like Transformers. All we need to do is finding the suitable model and running the model with some inputs to get outputs.
It’s also very easy to find online tutorials about running AI models. Most of these tutorials use Python as the language. In this post, I’ll demonstrate how to use Java and ONNX Runtime to run AI models.
The example I’ll use is birds classification. Given a picture of a bird, the AI model classifies the picture into one of predefined categories.
The first step is to find the suitable model to use. The model used in the example is dennisjooo/Birds-Classifier-EfficientNetB2. This model already has a ONNX file model.onnx. This file is small, only 33.7 MB. It can be downloaded directly from the website. We also need the config.json file.
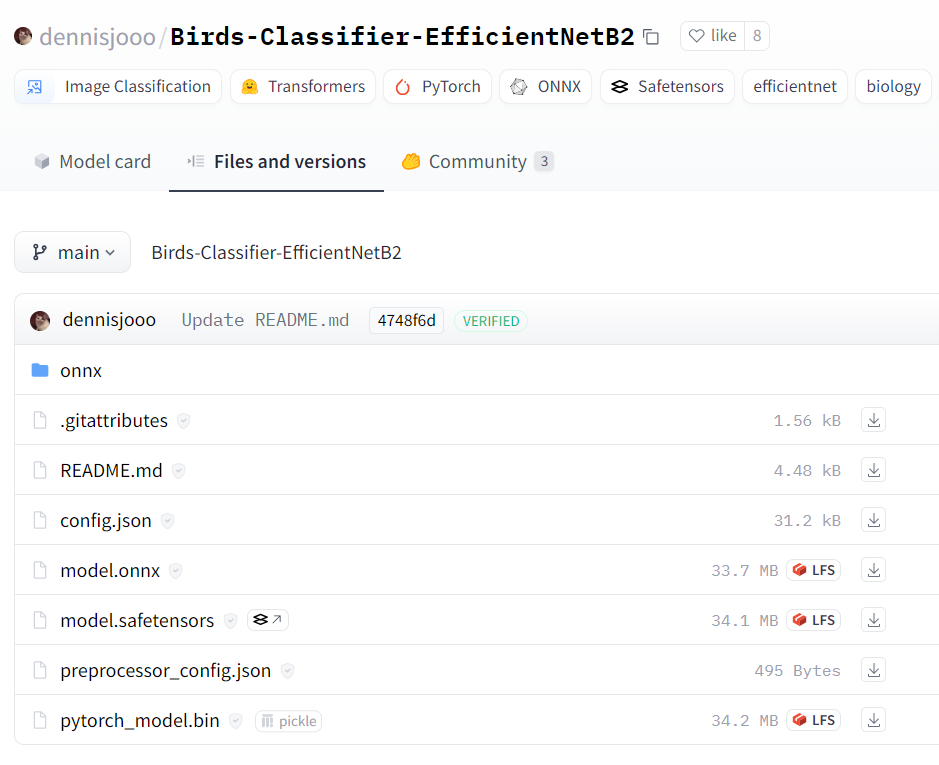
Not all models on Hugging Face provide ONNX files directly. In this case, Transformers can export a model into ONNX format.
To use ONNX Runtime in a Java project, we need to import its dependency first.
<dependency>
  <groupId>com.microsoft.onnxruntime</groupId>
  <artifactId>onnxruntime</artifactId>
  <version>1.19.2</version>
</dependency>
To run a model, we need to create an OrtSession first. OrtSessions are created from the global OrtEnvironment. There can be at most one OrtEnvironment object created in a JVM lifetime. Use the static method OrtEnvironment.getEnvironment to get or create the single OrtEnvironment object.
After getting the OrtEnvironment, the createSession method should be used to create a new session. When creating a new session, we need to provide a model file path or its data, and a SessionOptions for configuration. The model used in the example is tiny, so it’s embedded in the application directly. The model is loaded as a byte array.
private static final OrtEnvironment env = OrtEnvironment.getEnvironment();

try (OrtSession.SessionOptions options = new SessionOptions();
    InputStream modelStream = getClass().getResourceAsStream("/model.onnx");
    OrtSession session = env.createSession(modelStream.readAllBytes(),
        options)
) {

}
After creating a session, use the run method to provide inputs and get outputs. Inputs are provides as a Map. The names of inputs depend on the model. Use getInputNames method of the session to get a set of input names. The values of inputs are OnnxTensorLike objects. In this bird classification example, the input is a tensor created from the image content.
The image is resized to the target size of the model (260 * 260). For each pixel in the image, RGB values are extracted and normalized to float values.
OnnxTensor imageDataToTensor(URL url) throws IOException, OrtException {
  var bufferedImage = ImageUtils.resizeImage(ImageIO.read(url), imageWidth,
      imageHeight);
  var height = bufferedImage.getHeight();
  var width = bufferedImage.getWidth();
  var size = width * height;
  var r = new int[size];
  var g = new int[size];
  var b = new int[size];
  var index = 0;
  for (int h = 0; h < height; h++) {
    for (int w = 0; w < width; w++) {
      var color = new Color(bufferedImage.getRGB(w, h));
      r[index] = color.getRed();
      g[index] = color.getGreen();
      b[index] = color.getBlue();
      index++;
    }
  }
  var data = new int[r.length + g.length + b.length];
  System.arraycopy(r, 0, data, 0, r.length);
  System.arraycopy(g, 0, data, r.length, g.length);
  System.arraycopy(b, 0, data, r.length + g.length, b.length);
  int length = data.length;
  float[] float32Data = new float[length];
  for (int i = 0; i < length; i++) {
    float32Data[i] = (float) (data[i] / 255.0);
  }
  return OnnxTensor.createTensor(env, FloatBuffer.wrap(float32Data),
      new long[]{1, 3, imageWidth, imageWidth});
}
After getting the input tensor, calling the run method to get the output data. The output data contains probabilities of all categories. The index of the category with highest probability is the result. Using id2label from config.json to get the result’s label. The label is the classified bird name.
var tensor = imageDataToTensor(url);
var inputName = session.getInputNames().stream().toList().getFirst();
var outputData = session.run(Map.of(
    inputName, tensor
));
// read the config.json
var id2label = (Map<?, ?>) config.get("id2label");
try (var output = outputData.get(0)) {
    float[][] values = (float[][]) output.getValue();
    var result = argmax(values[0]);
    return (String) id2label.get(Integer.toString(result));
}
The complete source code can be found on GitHub (JavaAIDev/bird-classifier). To give it a try, download the latest release JAR file from GitHub, and run locally with a image URL.
java -jar bird-classifier.jar https://images.unsplash.com/photo-1470619549108-b85c56fe5be8The result of the above image is american flamingo.